Boom; case upgrade!
The primary purpose of this review is to express how pleased I am with what I ordered from mycasebuilder.com; a fantastic experience. So, if you found this article by searching for real world reviews of them, and don’t really care about my thought process or why I wanted this particular case, you can jump on down to that portion of the article: Review
Also, full disclosure, the links to Amazon and mycasebuilder are referral links. I have no relationship with either company other than being a very happy customer. When I like something, I tell other people about it. If a business I like, and would be telling people about regardless, has an affiliate program, then I sign up. It helps pay the bills to cover keeping this site running, and the time it requires.
Background
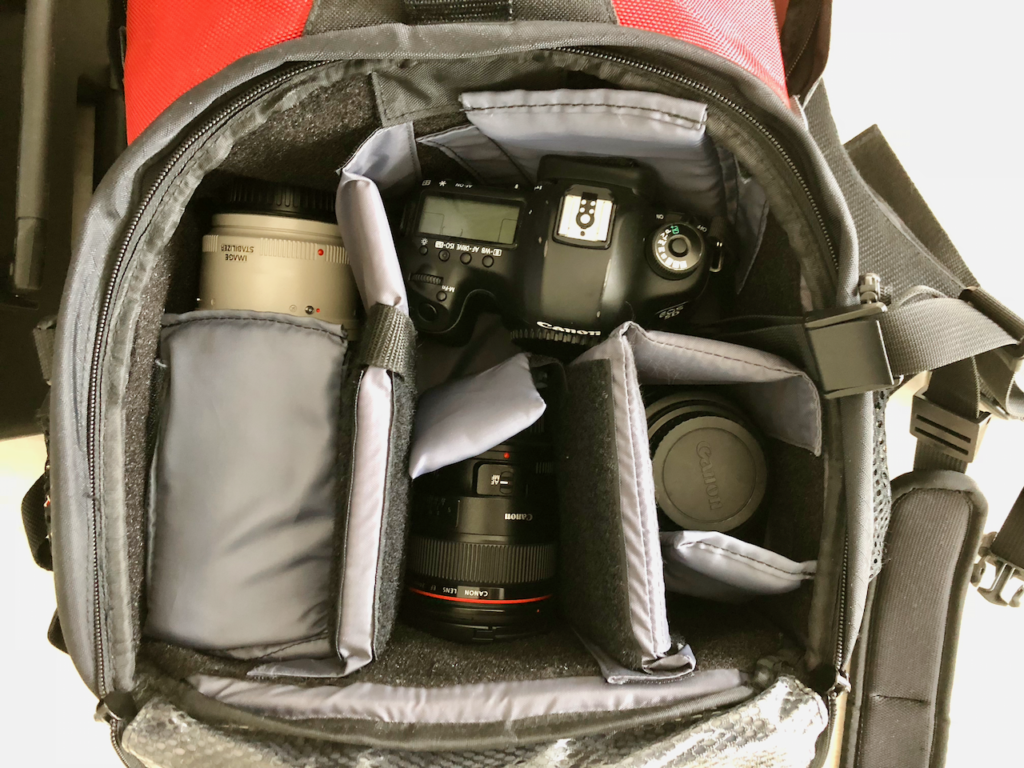
Okay, for years now, I’ve been traveling with a laptop and camera equipment, in a backpack, and as my equipment has gotten better, my back has begun hating me more and more due to the ever increasing weight of the pack. I would of course never ever check any camera or computer equipment, so that means carrying it on flights. I’d always used backpack because I have an awesome Tamrac backpack that makes it very easy, albeit, heavy. This pack has a zipper pocket along the back that is large enough to hold both my 15″ Apple MacBook Pro and an HP Elite X2 tablet. There’s a zipper pocket on the rear top to hold miscellaneous junk, including my little Apple iPad Mini 4. Then, the good stuff goes in a zipper pocket along the rear bottom with movable velcro partitions; that’s where I’m able to stick my Canon 5D Mark III frame with 24mm f/1.4L lens, a 50mm f/1.2L lens, and my gargantuan 70-200mm f/2.8L zoom. This whole thing weighs over 25 pounds, which isn’t fun to have clanging against your back as you run through Hartsfield-Jackson airport to catch that 50 minute connection that, of course, has you going from E to A wing. Having it on your back is not as huge a deal when you’ve got a job to do, and need all your gear in a portable format, but if you’ve got hours and hours of plane flights, transfers, etc., it starts to get old really quick.
At the end of 2017 I decided to buy a DJI Mavic Pro Platinum quad copter (aka drone) for Christmas. I plan to write an article about it too, but for drone enthusiasts, I was within my 30-day return window when the Air came out and I still chose to keep my Pro. Okay, so with my Mavic purchase, this just complicated matters more. Now I’ve got yet another piece of equipment that I want to bring with me, and can’t trust to baggage handlers. Scratch that, I don’t just have another piece of equipment, I’ve got the drone, the remote, and the three batteries which the FAA mandates be carried on since LiPo’s can catch fire if not treated well; i.e. dumb owners storing them fully charged for extended periods. This new gear not only exceeds backpack size, it goes well beyond reasonable discomfort levels for backpack weight. I needed a solution to bring all my gear, keep it safe, not risk being told it has to be gate checked, and keep it reasonably portable.
I start looking around at hard cases with rolling wheels. I figured a hard case would keep my gear safe, and hopefully hold it all. I started digging into sizes and manufacturers. There’s a ton out there. There’s cases that push the boundaries of carry-on size, and cases that are a safe size. There’s cases you can use as a step stool, and ones you’d put your foot through if you tried to stand on them. Anyway, after reading endless reviews and watching endless Youtube videos, I decided I wanted a Pelican case. The Pelican brand seems well loved, the 15xx series have the right features (side and top handle) and sizes, roller models, water tight, sacrifice a little bit of interior room for strength and rigidity, so it seemed to check all the boxes for me. I decided on a 1560 (at first). The 1560 is way over carry-on size, but the airlines I typically fly seemed to have reviews of people getting away with it since it will physically fit in an overhead, it’s just kind of rude to do so given its width in that scenario. Sorry! :-)
Next up, what do do about the case innards. I found numerous options online where the case that I want would come in one of three configurations:
- Pre-cut foam, in a way I didn’t like. This would be cases where someone else decided what would go in it and how it would be oriented. So the fit and finish would be great, if you had the same gear as they wanted you to have, and wanted to orient the pieces in the same way. I could find nothing where the foam matched what I wanted to put in it.
- “Pick and pluck” foam. This is where you open the case up and it looks like one big solid piece of foam. If you look closer, the foam is actually chopped up into very small 1″x1″ squares where you can just pinch each square with your fingers and break it apart from the surrounding squares, to ‘pluck’ it out. You do this repeatedly to pluck out enough squares in the areas you want to have the remaining foam hold the pieces of equipment you want. I think it ends up looking stupid, it’s far from a precise fit, and over time, since all the pieces are pre-separated, sans the little connecting portion, you can lose pieces you didn’t intend on.
- Typical ‘photography’ setup where the insides are a synthetic fabric of some sort, with lots of velcro and dividing walls so you can make your own mesh of pieces to compartmentalize all your gear. I hate these setups because you end up having to put added padding, etc. around your gear to force it into a relatively solid configuration so the pieces don’t bump against each other as the case is tossed around. I feel like this is just a big ugly mess and looks just like the inside of my backpack. Yes, you can easily reconfigure it, but one mishap one time with an expensive lens, while on-site where you actually need it, and you’ve shifted any initial savings into a net loss.
The Review
I decided I wanted a custom cut lining for my gear, in my desired Pelican case. I started digging around online for such a contraption and happened across mycasebuilder.com. I watched some of their videos and they seemed legit.
They are a one stop shop for both the case of your choice and custom cut foam. It goes way beyond that though; you use their 3D modeling tool to plan the foam cuts to ensure it not only fits your gear, but puts your gear exactly where you want it in the case, and they have pre-defined objects for nearly any piece of photography equipment, and seemingly similar coverage for drones and guns. You pick your case, build your design by dropping the objects you want into it, using the orientation of your choice, lock it from changes when submitting the order, then they do the cuts, put it all together and send it on its way. The builder even shows you in red where your case may have intrusions, such as wheel wells or handle storage.
Worried about spending money on custom foam only to not be happy with the result? They have an add-on option where you can get insurance against not liking what you designed, and if you get it and want changes, you send the foam back, adjust, and they’ll send you another one free of charge. You pay premium for that, but if you’re iffy on whether what you design will really be your final choice, and want that option, you can pay for it rather than having to buy more foam at full price. I didn’t do that one as I felt my choices were pretty straight forward.
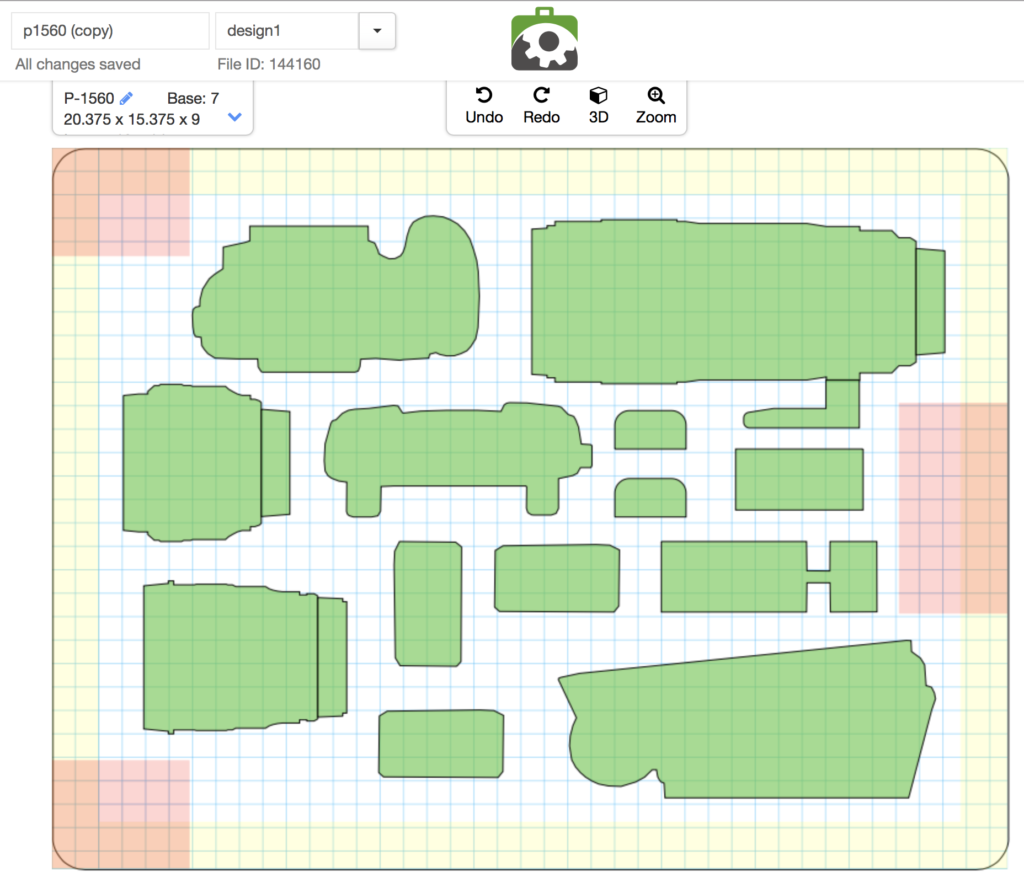
I was able to use their builder to drag and drop all the pieces I wanted into the case:
- DJI Mavic Pro Platinum
- (3) batteries for above
- DJI charger
- Mavic Pro remote
- Canon 5D3 body
- Three lenses
- Two Canon batteries
Then I just moved everything around as needed. They even have red indicating where there are obstructions in the case; in the Pelican 1560, you’ll see that as the wheels and recessed handle area at the top end:
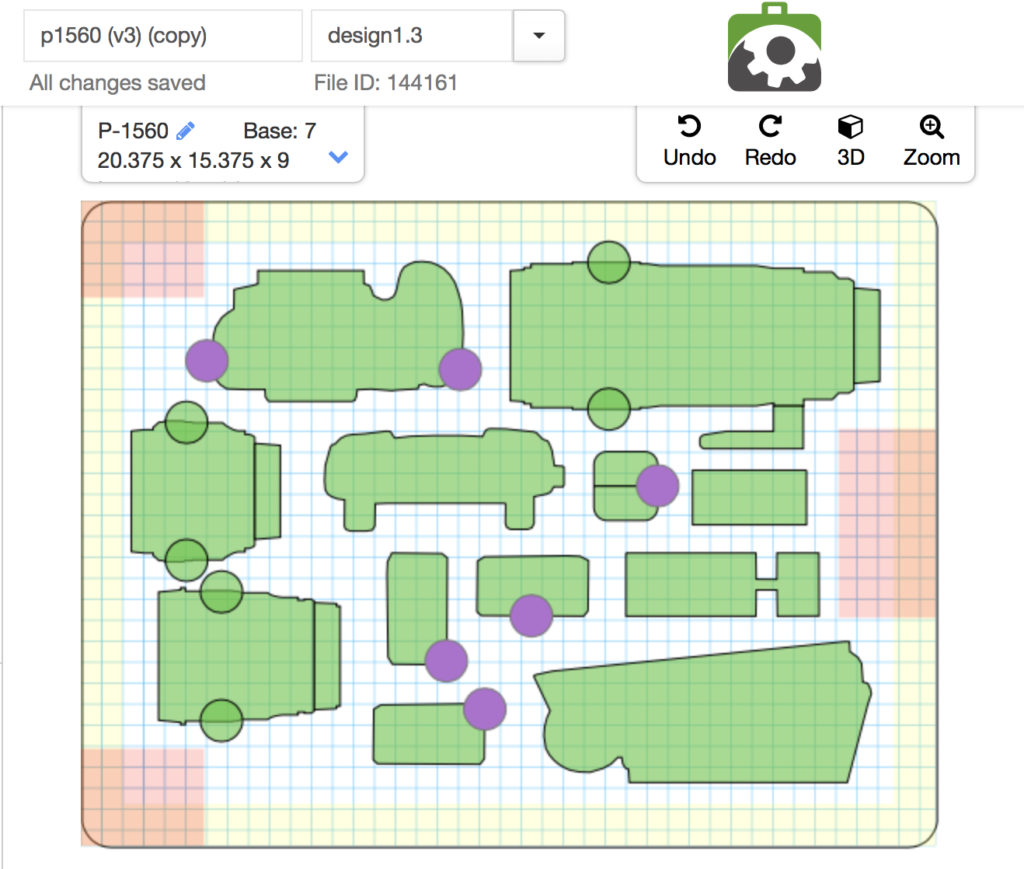
After giving it some thought, and reading more reviews, I decided I’d prefer to have little foam cut outs for fingers to grab the pieces out easier. I made a new one with those added. The mycasebuilder app lets you drop many shapes in with those already present, but you can easily add them to shapes that don’t have them built in:
Okay, I like it, lets order. You click the order button right from the case building app, it locks your design so it can’t be changed (don’t worry, you can duplicate it to edit later if you need to change it), and then you go through a typical checkout. During the checkout, you do have to make a decision on the type of foam. There’s Polyethylene (PE) or Polyurethane (Ester); the PE is the very rigid foam like you’d find in a gun case, the Ester is the softer squishy foam you’d find in a camera case. If you’re holding electronic equipment, I strongly recommend the Ester foam, not the PE; the PE is very rigid so it will transmit bumps / shocks to the equipment.
Well, as always seems to be the case, I place my order and then have a change of heart. With the excitement of knowing my Pelican 1560 is on the way, I start reading more reviews and find more and more people suggesting no way you’d want to try carrying that thing on an airplane, even if you could get away with it some percent of the time. Ugh, okay, I no longer want the big 1560.
Fortunately, I ordered from mycasebuilder on the holiday weekend after Christmas, so I called them the following Monday morning and they let me change my order, and even refunded me the difference down to the lower cost model I decided to go with. Knowing the foam is completely custom, I was worried about whether or not they’d let me do that given the order had already been placed.
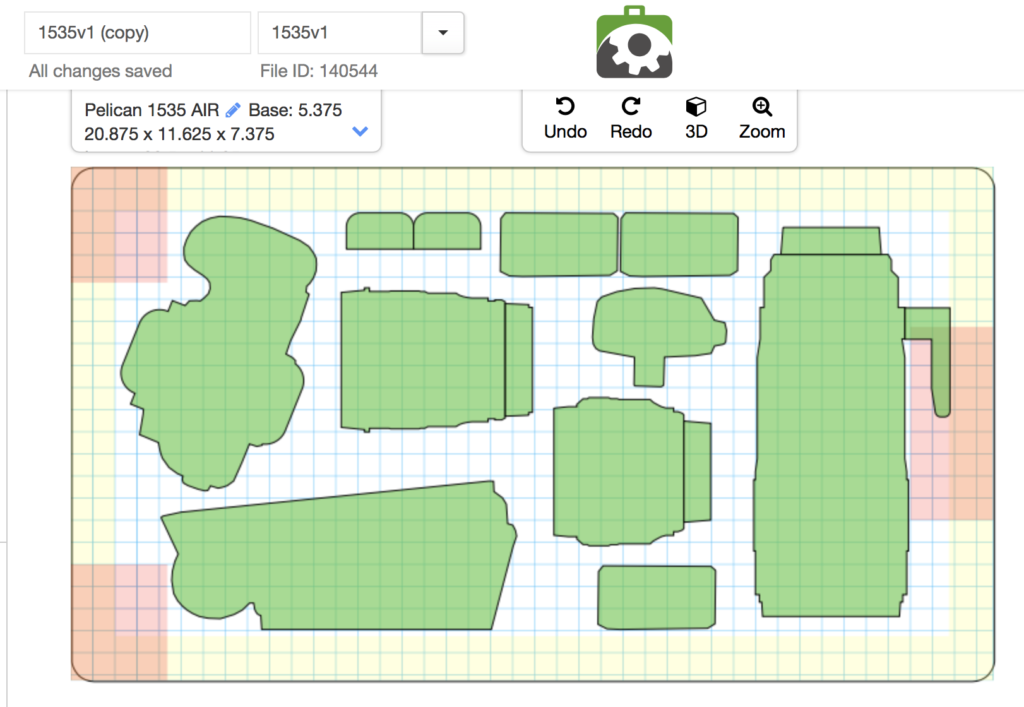
The case I decided to move down to was the Pelican 1535 Air; it pushes the upper limits of carry-on size, but only by half an inch over, so much more manageable and safer to avoid forced gate checking. However, given it’s a smaller case, I needed to re-do some of my gear and sacrifice a piece. Back to the mycasebuilder app, drop all my equipment in, and see what we’ve got.
I was able to get most of my original list in, but had to sacrifice the DJI Mavic charger as there simply wasn’t enough room in this smaller case to get all the original gear in. I was able to save quite a bit of space by putting the DJI Mavic Pro controller in vertically, so that helped. I used their 3D modeler to determine the remote could fit in vertically and still have some room to spare. Here’s my updated design:
You’ll notice the tripod mount of the huge 70-200mm f/2.8L lens intrudes into the red area. Fortunately the lens is not particularly deep, and I was able to spin the case around in the 3D render option to see that it would not intrude into the actual case cut out area where the handle lives; there’s an inch or two between the two:
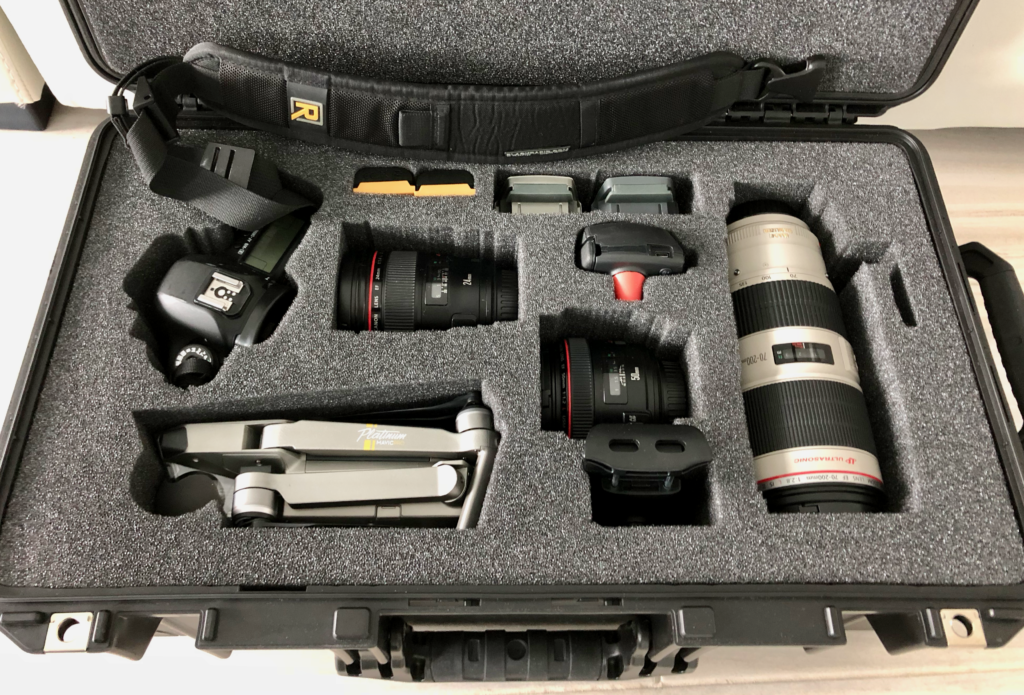
So, new design submitted, and a few days later I receive my new case, brand new in its original Pelican shipping box. This thing is so awesome; the fit is perfect and precisely matches what I designed in the online builder! I did forget to do finger cut outs on the re-design, but turns out it’s fine with out. The Mavic can be a bit tricky to get in and out, but not bad.
Picture Time
Seriously, check out how accurate the online builder graphic above is in comparison the finished product!
Couple notes on the picture:
- Yes, I have an old school strap at the top, it’s my trusty Black Rapid strap. I’m going to trade it in soon for their new Breathe strap: http://amzn.to/2EfCBH7I really love their straps; it works like a sling but your camera slides on it, so the actual strap doesn’t move and tear your clothing up (if you’re wearing it with a suit at a wedding for example).I just lay it flat when closing the case so I don’t have to take it off the camera body each time.
- The terminal covers on the Mavic batteries are these: http://amzn.to/2BXnMUm
- The weird thing you see in the foreground is a Skyreat tablet mount for the Mavic Pro controller. The actual slot it’s sitting in, per my mycasebuilder design, is for my third Mavic Pro battery, but I started keeping the battery in the aircraft instead so I could use that hole for the tablet holder instead of having to keep it in my normal bag. Here’s a link to the tablet holder http://amzn.to/2nKNCG7
- The red thing on the sticks of the controller is a plastic protector to keep the sticks, and more importantly, the 5D stick, from being moved around and/or broken: http://amzn.to/2E5FQgX
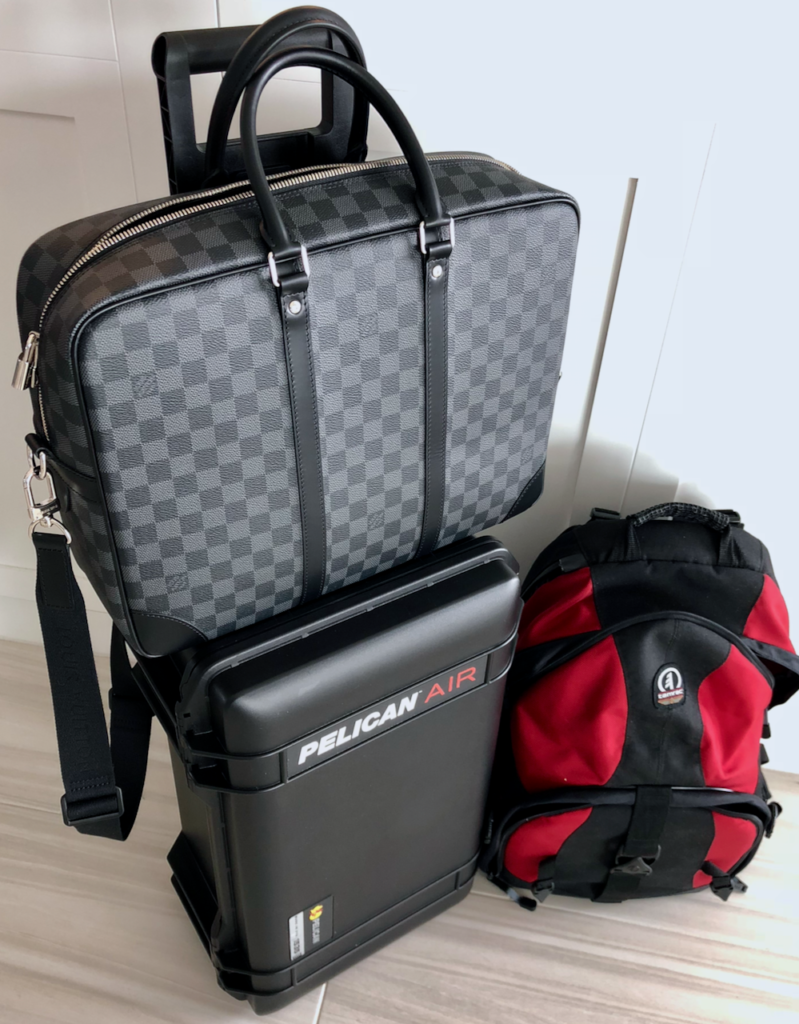
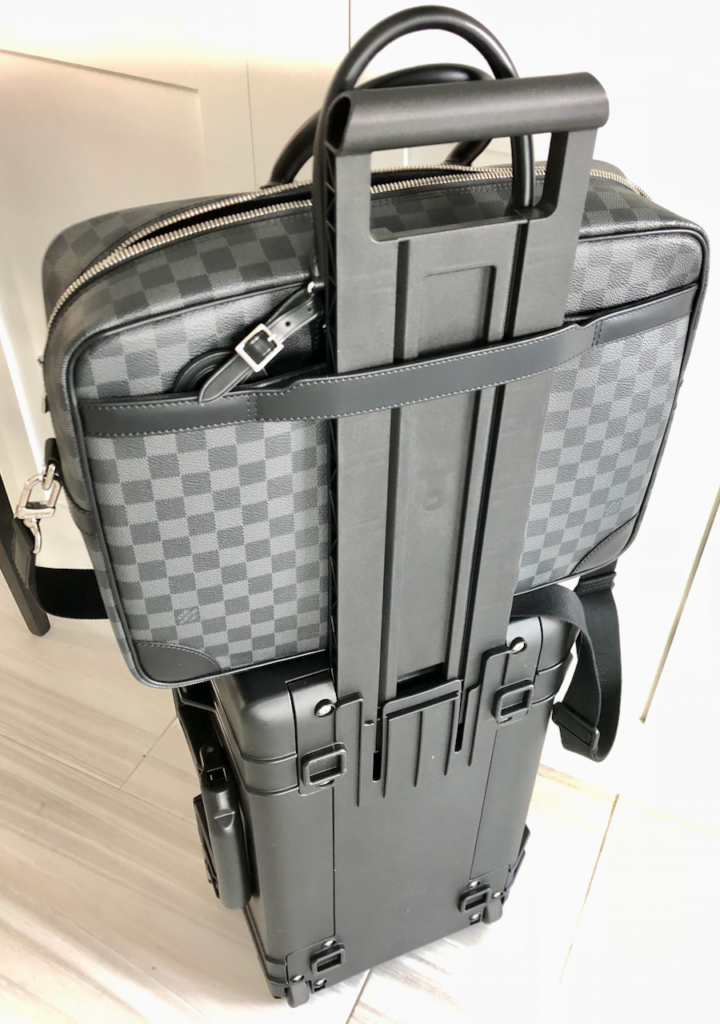
Best thing about moving to this case, besides my back no longer being in pain, is that now I can carry my laptop and other belongings in a nice bag, not a dumpy backpack!
Super easy to roll through the airport now!
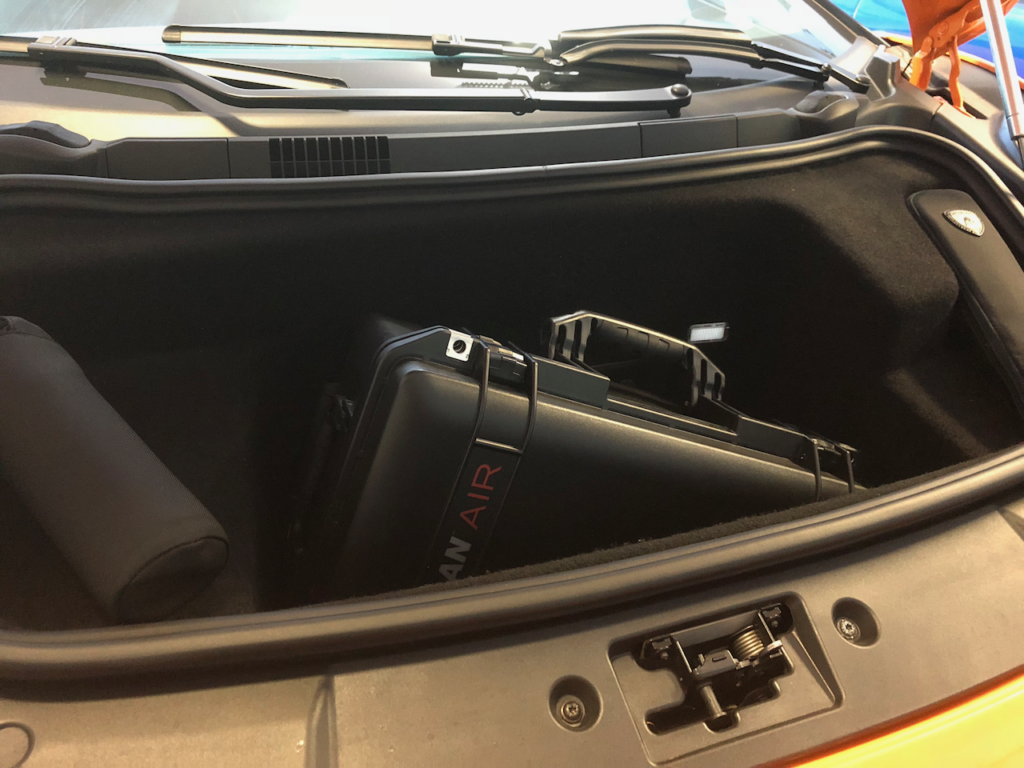
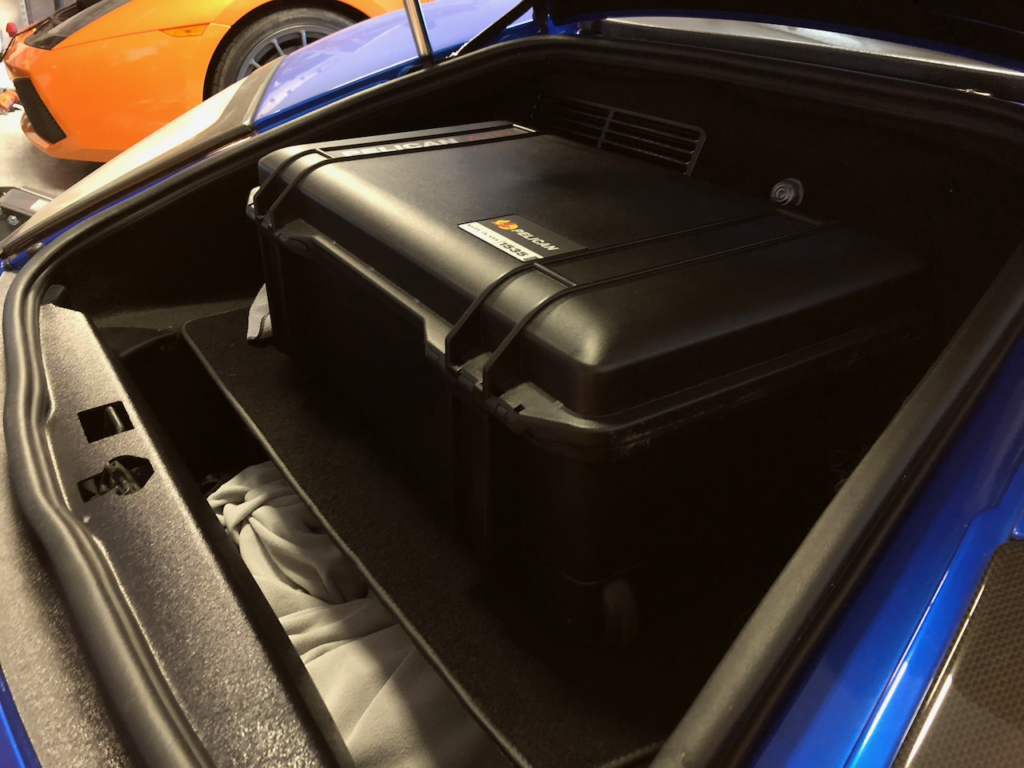
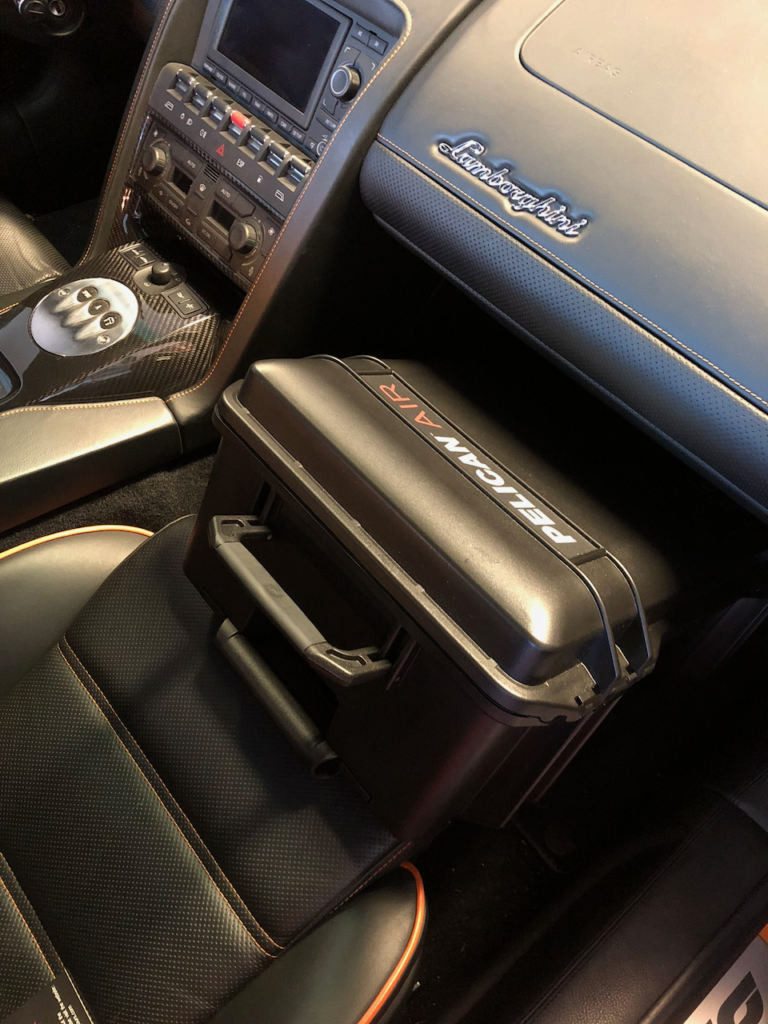
Now, the case is not without its faults. It is too big for the trunk of a Lamborghini; any model. So, hope you don’t have any passengers:
That’s a no on the Murcielago too:
Solution:
Sorry old backpack, no more of this crap:
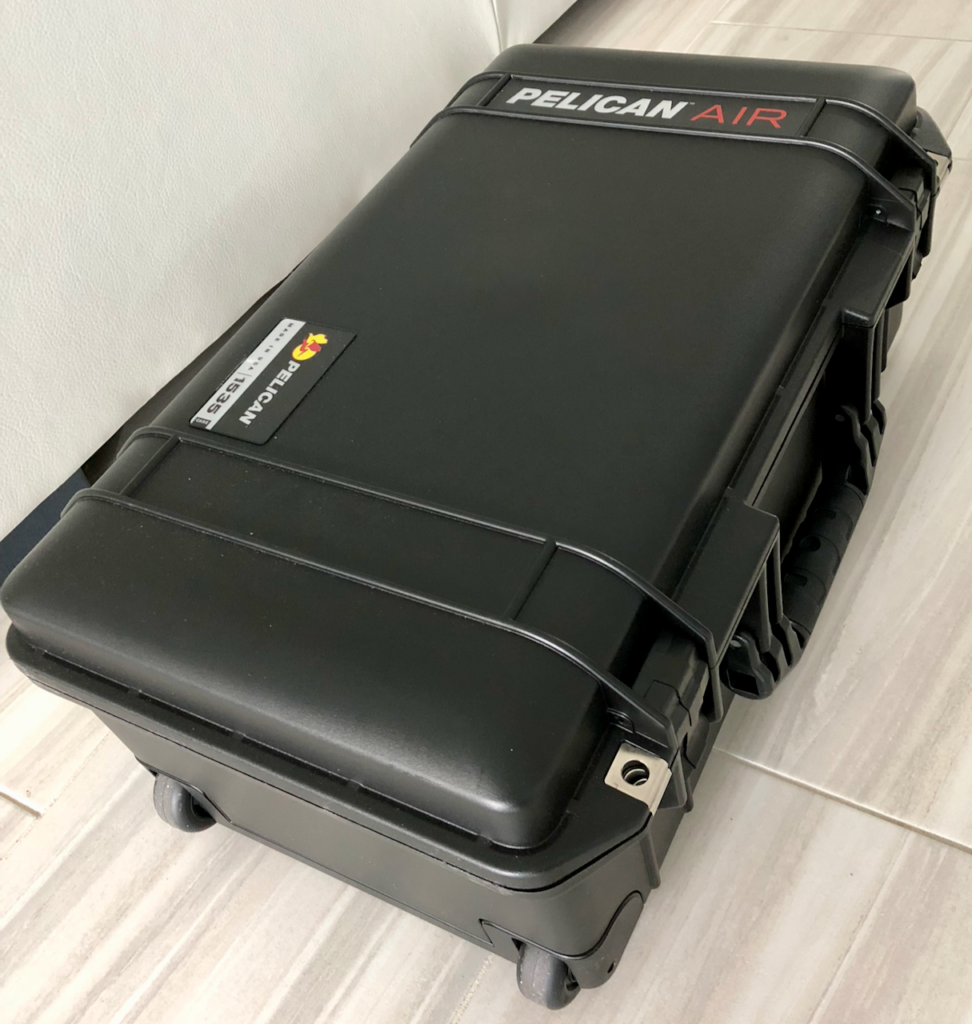
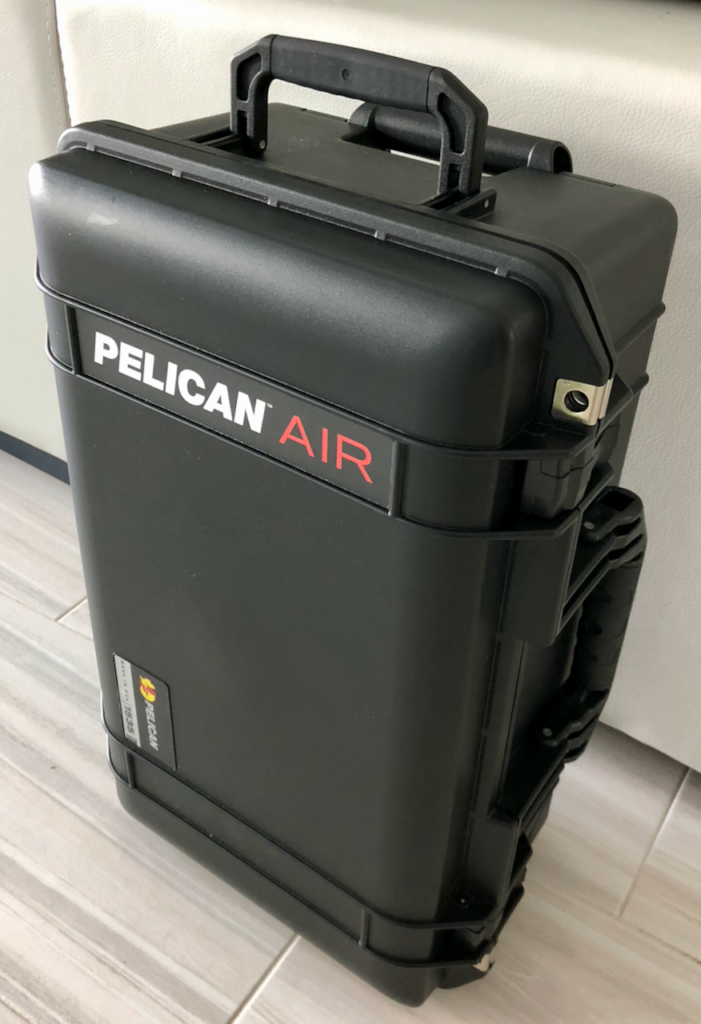
Couple more of the case:
